Now I’m no DIY expert but I do enjoy getting crafty so decided to try my hand at making a homemade fire-pit. Here’s a handy how-to.
Summer’s a comin and while the dreaded LC may be cancelled (/postponed depending on how you look at it), let’s hope that the annual bout of sunshine affectionately known as ‘exam weather’ still makes its yearly appearance. I’m a glass-half-full kind of gal, or at least I try to be these days, so let’s just presume that it will and prepare for its arrival.
Top of the list for most people when the sun shines? A BBQ/fire-pit.
Of course, there are a number of different models available in shops – many of which come with a hefty price tag to go along with their shiny exterior. However, with limited funds available to spend on such luxury items, having your own little fire pit may seem like more of a pipe dream than an actual possibility.
But what if I told you that you could make your own (fully-functioning) one using everyday materials that are probably lying around somewhere outside your gaff? Sounds too good to be true but I promise it isn’t. And even if you don’t have all the materials I used you can improvise or head to your local garden shop and pick up some supplies (still cheaper than investing in some of the higher-end options that you may only use a handful of times).
Here’s what you need to make your own fire-pit:
- paving bricks – some garden centres sell these for as little as 55cent a piece, I used 44 bricks for my version so that would set you back less than €25 if you do the same
- a wire rack (two if you want it to double as a BBQ) – you can get wire racks online for around a tenner

And that’s it, that’s all you need.
Here’s how to do it:
You can put this together in less than 30 minutes so not only is it extremely easy to assemble/dismantle and move, it’s also very low maintenance. I had some extra paving blocks around the house leftover from paving the back garden so was only delira to finally find a use for them. I used a total of 44 bricks for this version but you can definitely achieve the same effect using fewer bricks – this is more of a loose guide than a rigid how-to, so work with what you have and adapt as you see fit.
As you can see from the photos, I opted for a square(ish) shape as I found that worked best with the wire racks.
 Pop the coals/wood/turf on the bottom rack and then you can use the top rack as a BBQ for food. I got mine from an old BBQ that no longer works but you can borrow the trays from your oven or even got to your local recycling centre as they probably have some to spare from donated ovens and the like.
If you happen to have some wire mesh you can pop that under the first rack as that helps to keep the coals in one place – not 100 per cent necessary but most hardware shops stock it if you do want to include. 
Et voilà, that’s it. So easy that making it doesn’t even need a step by step.

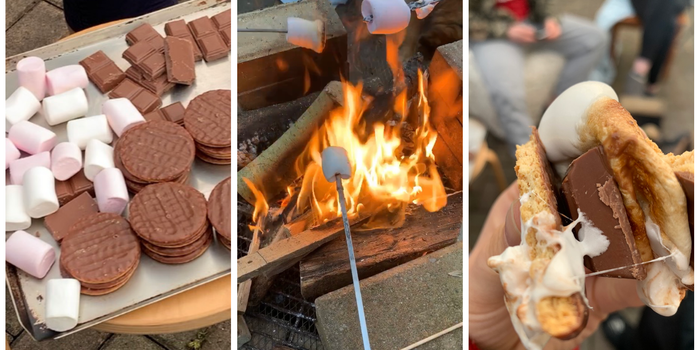
All there’s left to do now is stock up on marshmallows… you can’t have a fire-pit and not make s’mores, that’s just fact. Smoosh a toasted marshmallow between two chocolate digestives (with an extra piece of chocolate for good luck) and you’re really winning.
Need inspiration for staying at home? Sign up to our Lovin Home Comforts newsletter here.
